
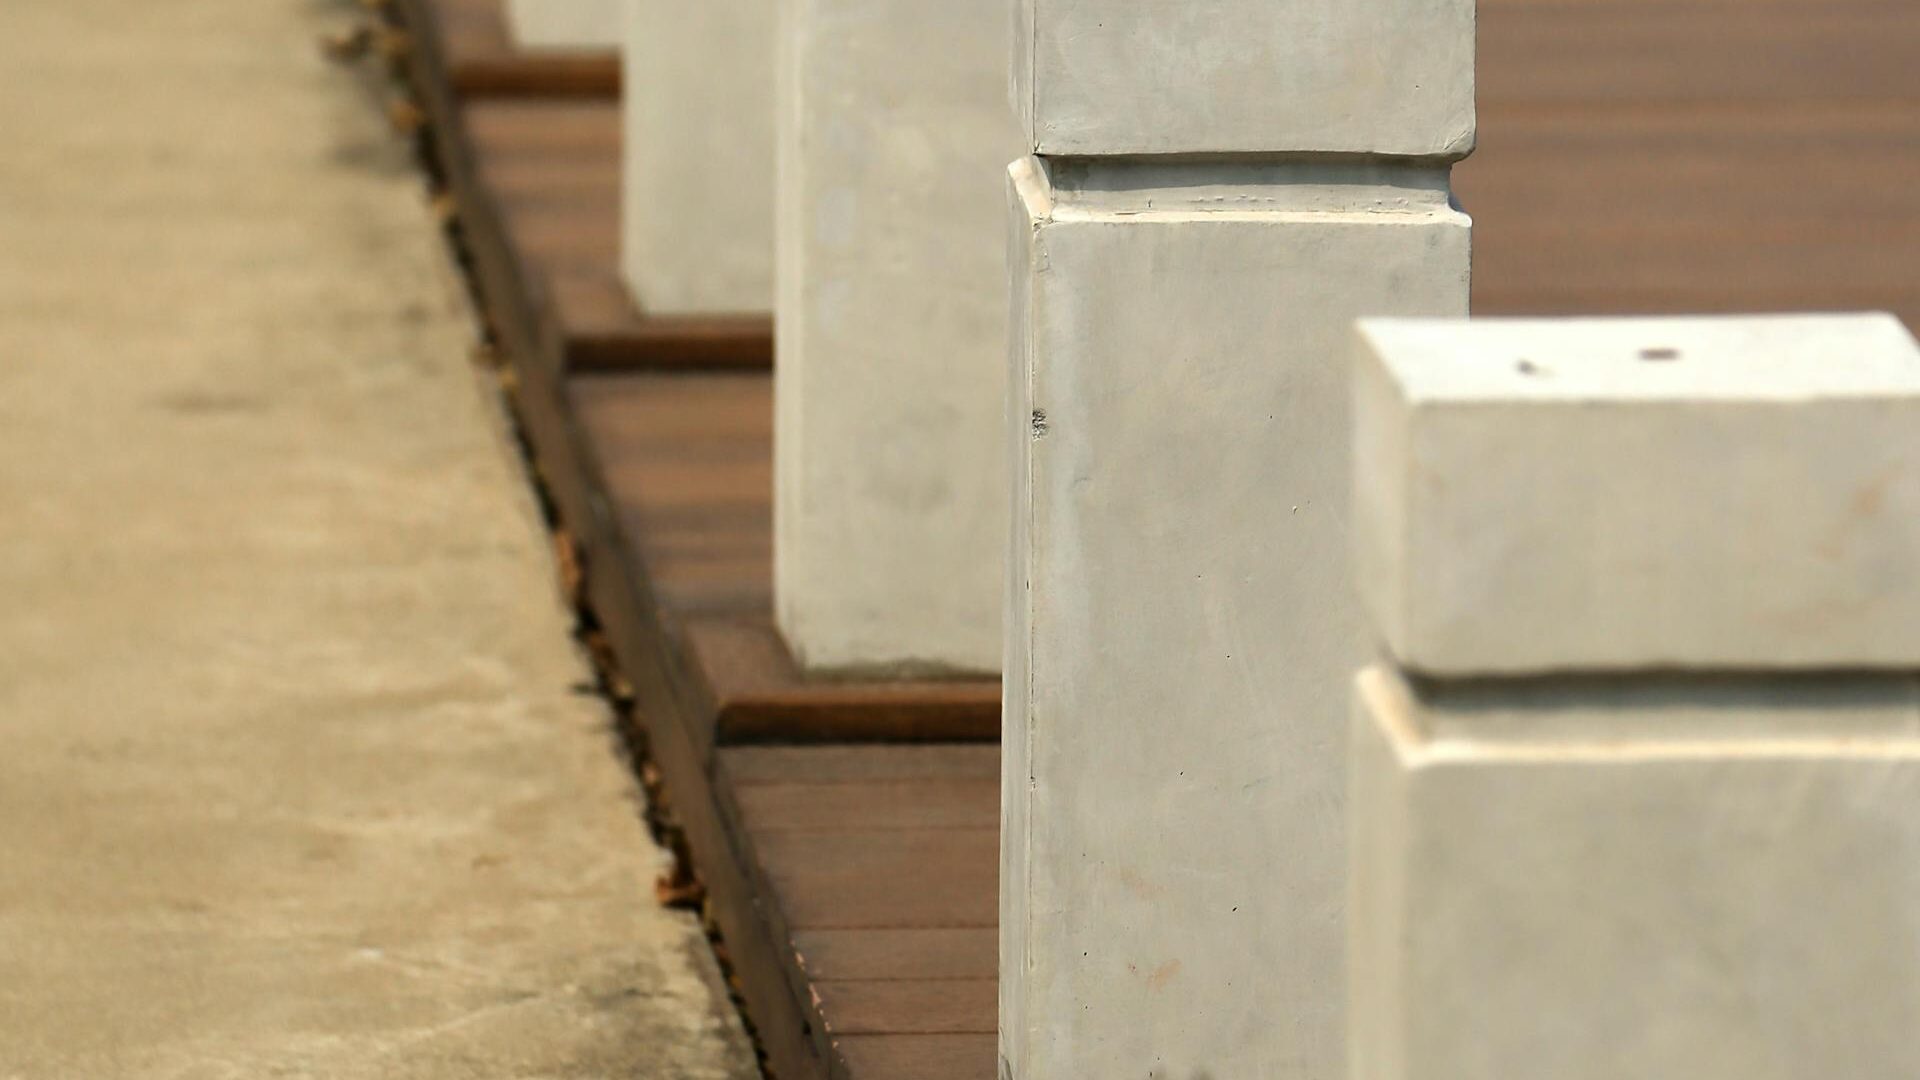
Concrete Bollard Installation Process — What to Expect on Install Day
From site walk to finished install, our bollard process is designed to minimize disruption and deliver a clean, code-compliant result in a single visit.
Step 1 — Site Walk and Layout
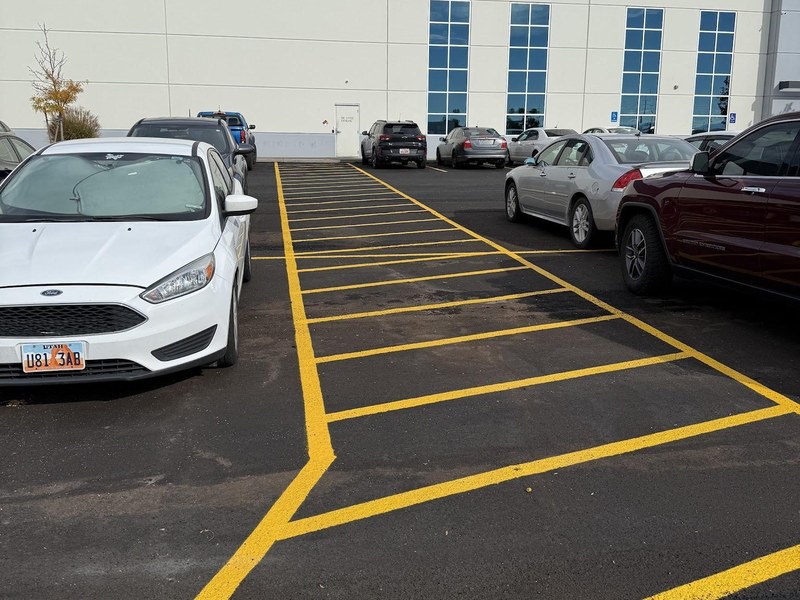
Before we touch the slab, a project lead walks the site with you to confirm bollard placement, check for underground utilities via 811 locate (required by Utah law for any concrete penetration), and identify any rebar or post-tension cables in the drill path. We mark core locations with paint and get your sign-off before drilling begins. This step takes 20–30 minutes and prevents costly mid-install surprises.
Step 2 — Core Drilling
We use diamond-core bits matched to the pipe diameter—typically 8 or 10 inches for a 6-inch Schedule 40 pipe to provide the annular clearance needed for adequate concrete encapsulation. Core drilling is a wet process: we use a water-fed drill motor and vacuum up the slurry continuously. Slab thickness in commercial settings is usually 4 to 6 inches; we drill through the slab and into the sub-base to reach the required 36-inch embedment depth. If we encounter rebar we cannot avoid, we reposition the bore and re-confirm layout with you.
Step 3 — Steel Pipe Placement and Plumb Check
The Schedule 40 steel pipe is cut to finished-height spec—usually 36 to 42 inches above finished grade for vehicular protection, 30 inches for pedestrian separation. We set the pipe in the bore, check plumb on two axes, and temporarily brace it. A cross-brace welded to the pipe sits below the slab surface to resist uplift and lateral rotation under impact.
Step 4 — Concrete Fill and Cap
We fill the annular space around the pipe with 4,000 PSI concrete, rod it to eliminate voids, and float the surface flush with the surrounding slab. The pipe interior is also filled solid. Powder-coat caps in your selected color are pressed over the pipe top. Wet concrete is cleaned from the slab surface before we leave. We mark the fresh bollards with cone and tape and provide a 24-hour do-not-load notice.
Step 5 — Final Inspection and Documentation
When concrete has cured (typically next business day), we return for a brief final inspection—check plumb, verify cap adhesion, and document the install with photos. You receive a written completion report with photos for your property records and insurance file.
Recent Concrete Bollards Projects

Common Questions
- Do you handle 811 utility locates?
- Yes. We submit the 811 locate request as part of our pre-install process. Utah requires locates for any ground penetration. Results typically come back in two business days, which we factor into scheduling.
- What if you hit rebar during core drilling?
- Rebar conflicts are common in older commercial slabs. When we encounter rebar we cannot safely cut through, we relocate the bore slightly—usually 2 to 4 inches—and confirm the new position with you before proceeding. This is covered in our standard scope with no upcharge.
- Can the install be done overnight to avoid business disruption?
- Yes. We offer evening and weekend scheduling for businesses that cannot close during operating hours. Core drilling is noisy, so we coordinate with neighboring tenants in multi-tenant buildings.
Ready to Get Started?
Get a free, itemized estimate for your commercial concrete bollards project. We typically schedule site visits within 48 hours and deliver written quotes the next business day.
Get In Touch
Ready for a quote or have a question? We’re Utah-based, Utah-run, and we’ll come out to your property for a free on-site estimate.
Get A Free Quote